Here’s How to Get a Perfect Red Mani Every Time

Maddy is Adore Beauty's Retail Media Specialist. She spends most of her spare time listening to podcasts, perfecting her slicked-back bun and searching for her next almond latte.

Who doesn’t love a manicure? The feeling of fresh nails, clean cuticles and hydrated hands.
And the hand massage, we can’t forget about the hand massage.
But monthly manis in this economy? Perhaps not.
Especially when my recent ‘quick trip’ to the shops to grab ingredients for dinner turned into a $50 wander up and down the aisles. Yikes.
You might be wondering: Maddy, what makes you qualified to talk about nail care?
I’m so glad you asked.
When I was little, my Mum wouldn’t do my nails for me to ensure I learnt how to do them myself. Even if I begged, she would tell me practice made perfect and to give it a go on my own.
So I would repeatedly paint and remove my nail polish until my nails looked less like a Jackson Pollock painting and more like something that came out of a salon.
Lo and behold, as I enter my late twenties I can now give myself a professional-looking mani at home, even after dislocating the index finger on my dominant right hand a few months ago.
So, Mum, if you’re reading this, I get it now.
And lucky for you, dear reader, I’m here to share my tips and tricks on how to get the best at-home mani ever.
Onwards!
Step 1. Treat.
One of the most important things to consider when doing your nails is the actual health of your nails.
Hands are super important and we should take care of them - including our nails.
My first tip is to always head in the direction of a healthcare professional if something looks NQR. Think dark spots, infected hangnails, etc.
Now, moving on (assuming that you’ve got that all taken care of), this is where treatments can come in.
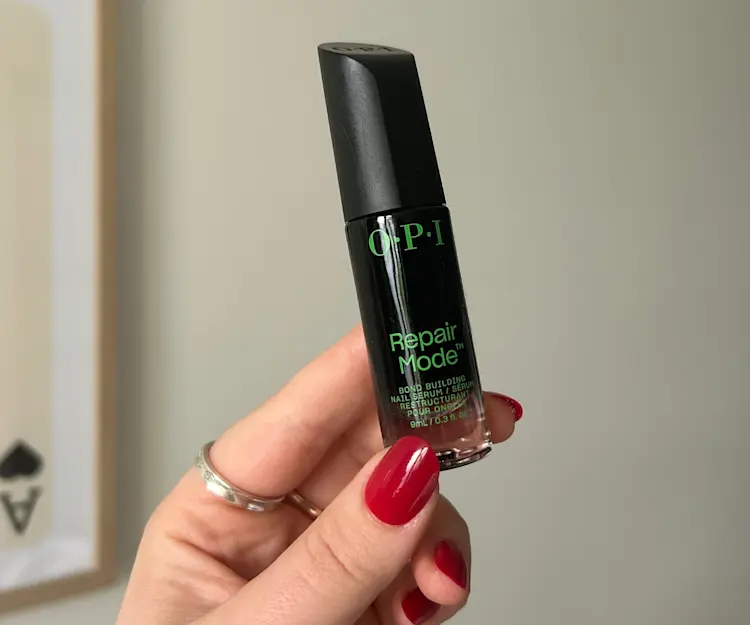
One of my favourite things to do recently is treat my nails with the new OPI Repair Mode 9mL.
This super light serum sinks directly into the nail and works to rebuild the keratin present in the nail. Think of a bond builder, but rather than for your hair, it’s for your nails.
I’ve been using this product for a few weeks now (it’s the perfect little bottle to pop in your bag and quickly apply while you’re at your desk) and I can definitely say I’ve noticed a difference.
And with that difference came the confidence to rock bare nails - something I’ve very rarely done in the past.
If you need more convincing, check out Megan’s review here.
Step 2. Prep.

Next up is to actually prep the nail.
This involves a couple of things - but essentially we want to cut and shape the nail, and remove any dead skin around the nail bed.
As a flag, nothing through this whole process should be painful, so it’s a good idea to stop if you feel any twinges.
Especially when cutting your nails - I’ve cut my nails too short before and you’re reminded for a week afterwards why it was a bad idea when the skin is sensitive every time it bumps something.
Here's my tried and tested routine:
1. Wash your hands first, obvi.
2. Next, push back your cuticles with a tool like the Manicare maniPRO 2-in-1 Cleaner & Pusher.
You’d be surprised at how much extra nail this step gives you, and it’s also really good to take care of to keep hangnails and the like at bay.
3. If you need a trim, now is the time to do it. I like my nails rounded so I trim them in a crescent shape from side to side.
4. Finally, file your nails with a nail file, like the spiffy OPI Flex Nail File 220/280 Grit, making sure to take care around the edges of your nails.
The last thing we all want is a sharp nail that gets caught on clothes and then rips. Think smooth, continuous edges.
Say hello to gorgeous, clean nails.
If that’s your vibe, you could totally stop here, and just keep using a treatment on your nails.
But if you like a bit of colour on your nails like me, read on!
Step 3. Colour.

Now onto the actual polish on the nails. This is the part that took me hours of practice to perfect. And I mean hours.
My first tip is to always use a base coat and a top coat.
Always, ok? Especially if you’re using red nail polish like we are today.
Not only does it allow the varnish to sit on top of a smoother surface, but it also protects your nails from staining. Because let me tell you, red nails can stain.
essie Nail Care All-In-One Top & Base Coat 13.5ml and OPI Start To Finish 15mL are both perfect do-it-all top and base coats I’ve used and loved.
A little hint from me to you: make sure you’re not applying too much product here.
Start small and add as needed. You don’t want the polish to drip into your nail beds.
Next up, colour!
essie Gel Couture Nail Polish in Rock The Runway is the perfect, true red.
But if you’re into a slightly different shade, essie expressie Quick Dry Nail Polish in 'Seize the Runway' is a perfect deeper red. Alternatively, 'Send A Message' is the perfect spicier red.
I lean towards a more picante-coloured red when I do my nails, but that’s just me.

When you actually apply the colour be sure to shake the bottle first. This makes sure the product and colour are all nicely mixed and reduces the risk of streaking.
Then, apply the colour in three long swipes - first down the middle of your nail, and then once on either side.
Another mantra of mine is ‘Two thin coats are better than one thick one’.
This video shows the technique perfectly.
Now lastly, when the colour is on your nail, and you’ve used your multitasking base and top coat to finish off, it’s time for a newly discovered fave of mine.
And let me tell you, it was game-changing - the OPI Drip Dry Drops. Try and say that three times fast.
This stuff means you can go from wet nails to fully dry nails in a matter of minutes - I’ve not done my nails without this stuff since I first used it.
Goodbye waiting for nails to dry, hello getting on with life.
Alternatively, Try Press-Ons.

Now, with all of that said, there are two types of people in this world: people who can grow long, natural nails, and those who can’t.
I’ve played netball since I was 7 - can you guess which camp I sadly sit in?
For those of you who sit in the I-can’t-grow-long-nails camp with me, I have great news.
OPI has released their buzzy new press-on nails. And not only do they promise 14 days of wear, but they also come ready to go in some of their most iconic colours.
Talk about not having to worry about a mani being perfect. This gives you length as well.
What more could you want?
I recently popped them on for a weekend away and a week later they’re still going strong. Even through pilates, a music festival and multiple dog walks.
Step 4. Nourish.
Next up in this routine is perhaps my favourite step - the cuticle oil!
It’s time to hydrate the hands and make sure we’re taking care of the skin on our hands just as we would the skin on our faces.
I’m currently using the essie Nail Care Apricot Cuticle Oil, and it’s a perfect blend of multiple oils to take your mani to the next level.
I may or may not take this with me in my bag to work as well.
If you’re feeling a bit extra (like I often do) you could also incorporate some hand cream into this step.
The Aesop Resurrection Aromatique Hand Balm Jar 120ml is the perfect product to massage your hands with, and looks schmick enough to store on your bathroom counter next to your handwash.
Step 5. Protect.

Now, it wouldn’t be a skincare article without a mention of SPF, right?
It’s always essential to protect yourself from UV, especially when driving around in the summer.
The Ultra Violette Extreme Screen Hydrating Hand & Body SKINSCREEN SPF50+ 150ml is a great option to use on your hands and body.
I currently have two, half-full tubes of this in my car.
**Important note: Sunscreen is only one part of sun protection so wear protective clothing and seek shade. Avoid prolonged sun exposure. Reapply every 2 hours and after swimming, towelling and perspiring in accordance with directions.
After more beauty inspo for the festive season? Check out these Beauty IQ articles:


