Exactly How a Dermal Therapist Does an At-Home Facial For Dull, Dehydrated Skin

How a Dermal Therapist Does an At-Home Facial for Dull, Dehydrated Skin How a Dermal Therapist Does an At-Home Facial for Dull, Dehydrated Skin

Once a week (or generally whenever I can be bothered/my skin is feeling blah), I like to give myself an at-home facial.

And trust me, you can do it too. It’s very easy.

If you have kids, can I recommend handing them over to your partner or plonking them in front of the telly on a Sunday afternoon when you have your 'do-everything' shower?

Because this is important.

For the purpose of this feature, let’s do a routine for dull and/or dehydrated skin, as it's something many of us will be experiencing this winter or while in lockdown.

This facial doesn't discriminate, though.

It's for anyone and everyone who wants to end their day looking and feeling like a dolphin. Or a glazed doughnut.

How to Do an At-Home Facial.

Always choose your products based on your skin type and concerns.

Here are the skincare products I’m using in this routine for skin that’s feeling dry, dull and generally meh.

Now, do what you gotta do. Shut the bathroom door, light a candle... if you can be bothered.

This is your time.

You can watch me do this facial step-by-step in the video below, or keep scrolling for the full break down.

Step 1: Double Cleanse.

Every at-home facial must start with a double cleanse. It’s simple. 

First you remove your makeup with an oil based cleanser. I love Cosmedix Purity Solution Deep Cleansing Oil because it’s a Victoria Beckham fave. (But also it’s one of the best!) 

Then I love to follow with La Roche-Posay Toleriane Dermo Cleanser or any nourishing cleanser for your skin type. 

I love starting any at home facial with gentle cleansers as generally I’ll go in with stronger chemical exfoliants following that first step. Hence why the cleansers need to remain bland.

We don’t want to over-do it with every step. 

Step 2: The Best Exfoliant for Your Skin Type.

Exfoliation is super important in any routine, but most importantly when giving yourself a little facial at home. 

Although how you exfoliate will depend on what your skin type can tolerate. You might find that your skin loves a basic enzyme exfoliant and you can leave it at that. 

Personally, I love to start with an enzyme exfoliant then go in with a stronger AHA chemical exfoliant. It’s not something I’d do every day, but during an at-home facial it works really well for my skin and it’s very extra. 

Here are some different exfoliation product options:

  • Osmosis Skincare Polish Cranberry Enzyme Mask - For all skin types including dry/sensitive. Hardworking and gets the job done.

  • Alpha-H Liquid Gold - A great iconic glycolic chemical exfoliant for ageing/dull skin. 

  • Aspect Illuminating Polish - Combines physical, chemical and enzymatic exfoliation in one!

Again, how you exfoliate is very personal and dependent on your skin type.

It can also depend on what other treatments/products you have been using and how your skin is feeling that day so tread with caution if you are unsure. 

You can learn more about different types of exfoliation in this YouTube video below.

Step 3: Sheet Mask for Dry Skin.

Once you’ve exfoliated, this is when you can go in with a sheet mask. 

Again stick to nourishing/hydrating masks because of the level of exfoliation you might’ve put your skin through first. 

innisfree Hydra Solution Mask - Dry Skin is a great creamy, hydrating sheet mask that will pump life back into dry skin.

The price is the best part though. $6. I know! Also perfect during winter. 

The mask comes with a second cream step, which you can take or leave. There are also oily and combo skin versions if that is more suited to your skin type.

Bonus: The sheet mask size fits quite well... which is a rare occurrence with my small head. 

Step 4: Eye Cream.

Follow the sheet mask with an eye cream. 

Aspect Eyelift 3 is such a good every day eye cream and is full of antioxidants.

Actually, I feel like it’s a pretty mid range eye cream and most skin types could benefit. If you are unsure what eye cream to buy, then this is a good place to start.

Plus, it can be used for both AM and PM.  

You can learn more about eye creams in this YouTube video below.

Step 5: Hydrating Serum.

Then following the eye cream, apply whichever hydrating serum you like.

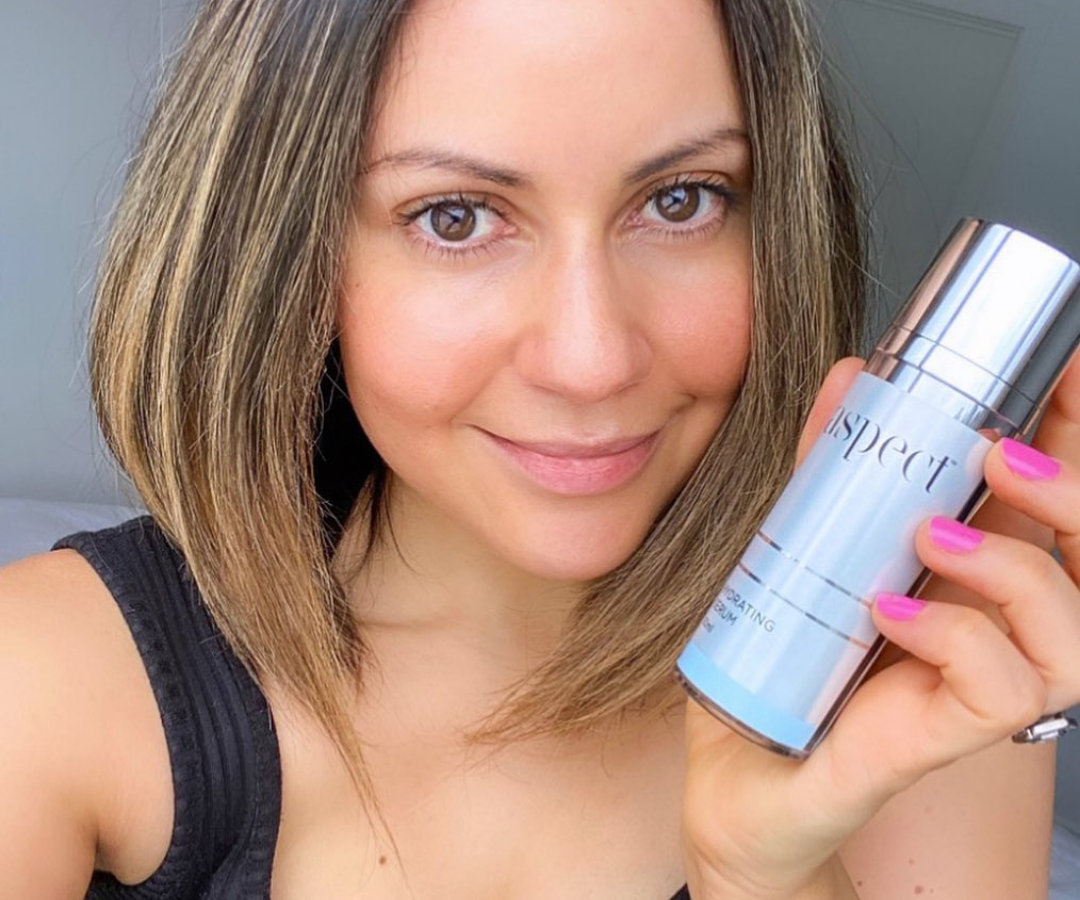
Aspect Hydrating Serum is one of my favourites - you can read more about why I love it here

Short version, the formula contains multiple weights of hyaluronic acid that can attract and bind to water molecules in the different layers of your skin.

Great for all skin types, including oily skin types who are dehydrated. 

Step 6: Best Moisturiser for Dry, Dehydrated Skin.

Finally, seal it all in with an extra nourishing face cream.

Murad Intensive Recovery Cream 50ml is one I’m currently utterly obsessed with.

She’s thick and full of shea butter and macadamia oil, which are amazing ingredients for dull/dehydrated skin.

Plus, every skin type can benefit from this face cream, including impaired barriers or anybody with severely dry winter skin. 

See, at-home facials are so easy. Let’s not over-complicate things, yeah?

P.S. You can watch more helpful, fun content on how to do an at-home facial in this YouTube video below.

    Subscribe for beauty sales, free goodies, advice and SO much more!