How To Do a Cut Crease Eyeshadow Look

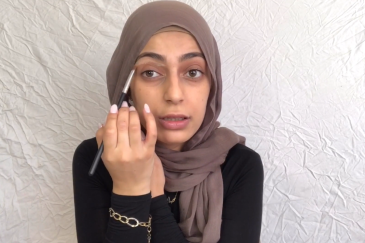
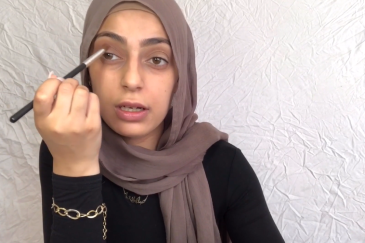
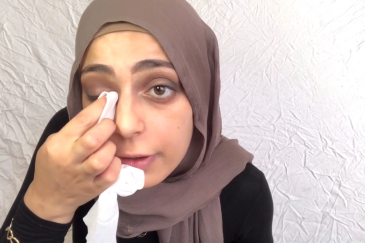
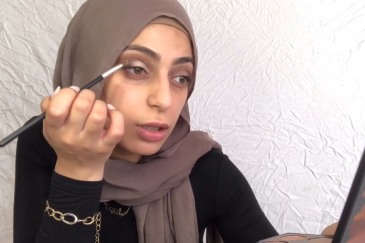
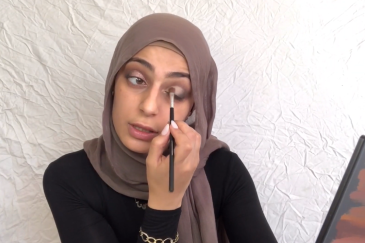
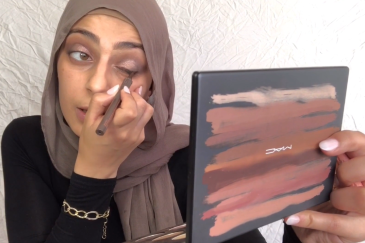
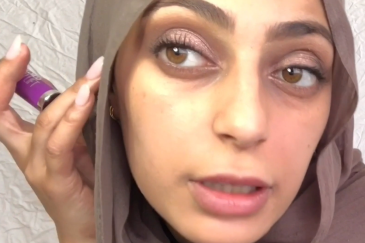
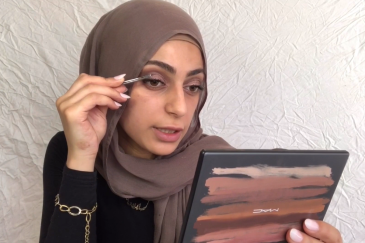
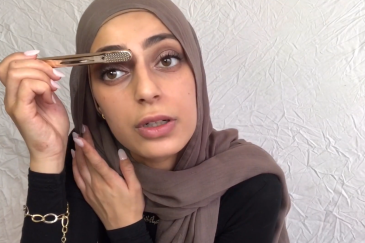
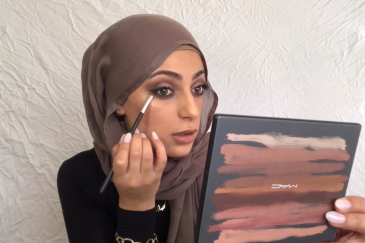
A “cut crease” is a technique used to define the crease using a barely blended, contrasting eyeshadow to “cut” across the crease for a wide awake and dramatic look.

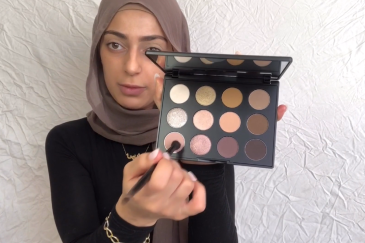
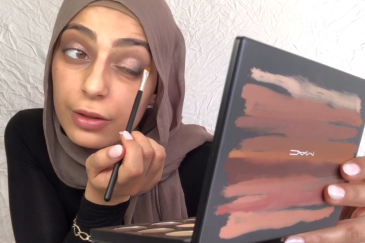
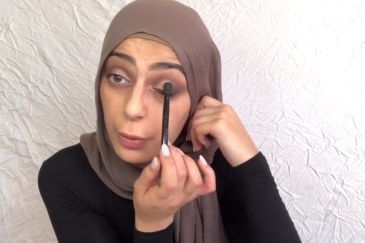
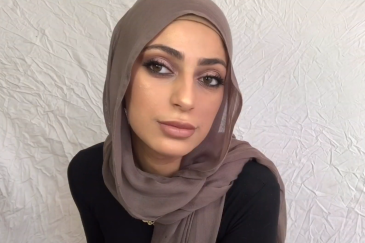
In this tutorial, Sabrina El Hawli shows us the best tricks for perfecting this popular look using subtle mauve shades.

So, if you have trouble knowing what to do with shadows, this routine is the perfect guide to a precise, monochromatic look. 


Eye Makeup Hacks:

  • Start with your eye makeup first to avoid ruining your foundation. 

  • Elongate your eye while blending out your transition shade.

  • A small brush is best for cutting the crease because it gives you more control.

Maybelline-Falsies-Lash-Lift-Mascara Maybelline-Falsies-Lash-Lift-Mascara


Step by Step Routine for Creating a Cut Crease Eyeshadow Look:

Step 1: Build your base

Step 1: Build your base

Conceal the base of your eyes using the M.A.C Cosmetics Pro Longwear Paint Pot in Soft Ochre. Use a small, flat brush to apply a minimal amount all over the lid. Then set the lid using the Real Techniques Setting Brush to apply the RCMA No Colour Powder to the lid.

Step 2: Transition time

Step 2: Transition time

Using the M.A.C Cosmetics M·A·C Art Library: Nude Model, start with a transition shade. Take the mid tone matte rose shade on the bottom left, called “Pleasing To The Eye”, and lightly blend it through the crease lifting it just under the brow bone. This will give your lid a light wash of colour and make other shadows easier to blend. 

Step 3: Intensify the crease

Step 3: Intensify the crease

Intensify the colour in your crease by taking a Crown Brush Deluxe Blending Crease Brush and dipping it into the shade cool matte plum shade on the bottom right, called “Sugar Plum”. Take the tapered brush and lightly blend it into your crease. Create a few layers. Then lightly blend it out with a fluffy brush so the shadow is seamless.

Step 4: Smoke it out

Step 4: Smoke it out

Using an angled brush, dip into the deep blackened plum shade on the bottom right, called “Dance in the Dark”. Concentrate the colour on the outer corner of the eye by patting it in on an angle. Then grab your fluffy brush and a bit of your transition shade and blend it together with the rest of the crease.

Step 5: Smooth the surface

Step 5: Smooth the surface

Apply some Vaseline to a small, flat brush and add it to the area you want clean to help you cut the crease. Then grab a wipe and run over the vaseline part you have applied for a perfect clean base. 

Step 6: Cut the crease

Step 6: Cut the crease

Using a small flat round brush go back in with the M.A.C Cosmetics Pro Longwear Paint Pot and cut the crease by applying the product to the area where you removed the Vaseline. Then set again with the RCMA No Colour Powder.

Step 7: Shimmer shade

Step 7: Shimmer shade

Apply a lighter shade to the newly defined area with a small tapered brush like the metallic taupe shade “Nude Model”. Then blend in shadow with a fluffy brush.

Step 8: Intensify the outer corner

Step 8: Intensify the outer corner

Intensify the outer corner with the shade “Dance in the Dark”, concentrating the colour with a small tapered brush.

Step 9: Carve it out

Step 9: Carve it out

Lightly redefine the cut crease using the shade “Nude Model”.

Step 10: Winged liner

Step 10: Winged liner

Step 11: Clump free lashes

Step 11: Clump free lashes

Apply several coats of the Maybelline The Falsies Lash Lift Volumising Mascara - Blackest Black for volumized, clump free lashes.

Step 12: Lash boost

Step 12: Lash boost

If you need an extra lash boost try adding individual lashes like the MODELROCK Regular Medium Knot Free Lashes. Apply the MODELROCK Lash Adhesive Clear Latex Free 5gm to the lash and let the glue become tacky before applying the lash to the lash line. Use your index finger and thumb to move the lash in place along your lash line. Finish by going over with a layer of mascara.

Step 13: Brushed up brows

Step 13: Brushed up brows

After filling in your brows, brush them up using the ICONIC London Brow Silk & Brush Kit for a lifted brow look. 

Step 14: Work the lower lash line

Step 14: Work the lower lash line

Using a small tapered brush define the lower lash line using the transition shade “Pleasing To The Eye”. Then take an angled brush and line the outer corner of the lash line with a dark liner shade.

Enjoy the final look!

Enjoy the final look!

We hope you found this cut crease eyeshadow look easy to recreate at home. This versatile look can be recreated in all different colours and variations using our range of eyeshadows and brushes from M.A.C. Cosmetics and Crown Brush.


This routine was transcribed by India Williams.


How to Prep My Dry Skin Before I Put on Makeup

Chloe Turner, Educator at M.A.C Cosmetics shares her best products to prep the skin for a glowy look.

How to Get a Bronzed Glowing Makeup Base with Skincare

Get dewy, glowy skin with Bel Burt, M.A.C Cosmetics Retail Educator.

The Daily Makeup Routine Products I Use When My Skin Looks Dry and Dull

How to get youthful, glowing skin with Ocea Mckenzie from M.A.C Cosmetics.

    DISCOVER MORE ROUTINES LIKE THIS

    Subscribe for beauty sales, free goodies, advice and SO much more!